Getting Started with Lens Studio - Face Cut Out Template
This walkthrough is part of the Getting Started with Lens Studio series.
In this tutorial, we’re going to start with a blank project rather than a Template like we have in the previous tutorials in this series.
You can download the files from this tutorial right here.
• The first thing we’re going to do is open Lens Studio and hit the blue New Project on the Left hand side of the start screen.
• Next, we’re going to go straight down to the Resources panel, bottom left on your screen and hit the + button. Hit the Import File button and select the Image File from the download.
• We’re going to import this daisy graphic from the attached file download into our project.
• Next we’ll head up to the Objects panel, hit the + button select Face Image from the Components menu.
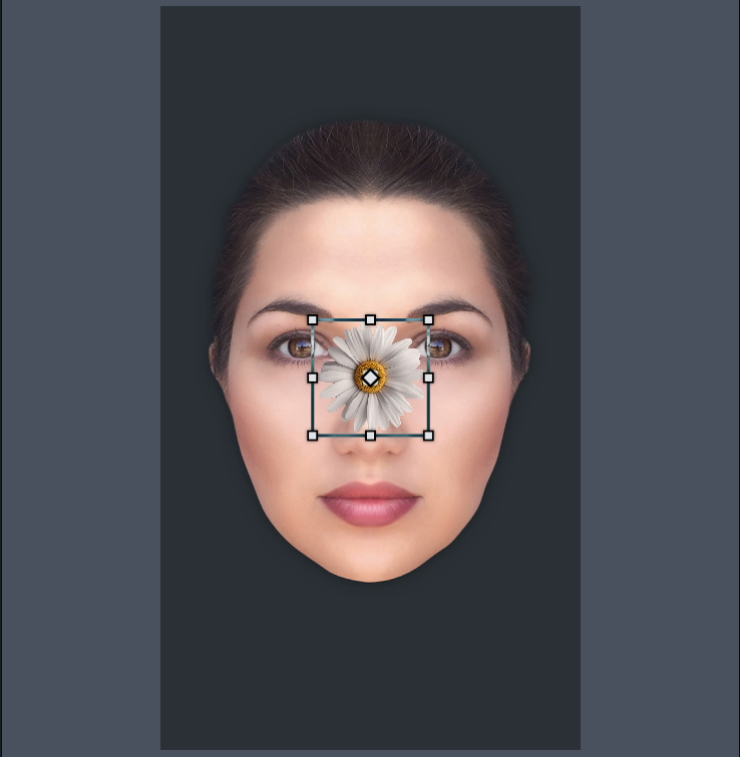
• You’ll see the Scene panel change to 2D and an image appear in the middle of the face.
• What we’re going to do is drag the image we imported from the Resources panel, bottom left into the Texture box in the Inspector Panel on the right hand side.
• You’ll see the image on the face change to our daisy.
• Let’s look back over to the Inspector panel and we’ll hit the link button in the scale section. This means that when we change the X scale, the Y and Z will change proportionally.
• In the X box, let’s change that to 35 so we fully cover the face.
• Next we’ll go back up to the Objects panel, hit the + button and select the Face Inset Component from the drop down.
• In the Inspector Panel, you’ll see an option called Face Region, right now it’s set to mouth but if you click on it you’ll see it offers Left and Right Eye, Mouth, Nose and Face.
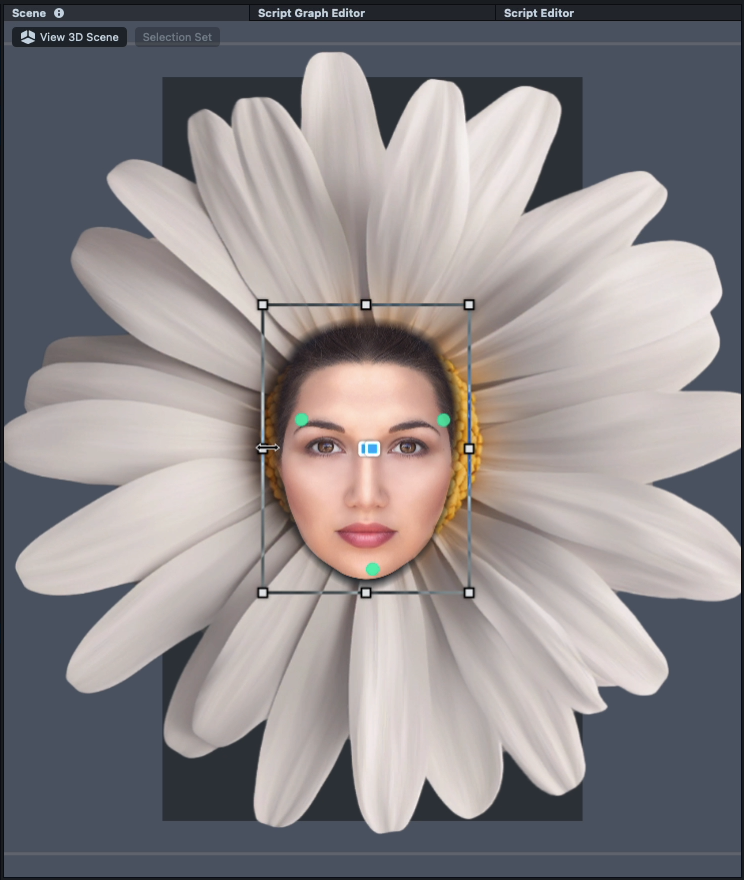
• Let’s select Face from the drop down here.
• Next we’re going to move over to the Scene panel and use the Handles on the edge to resize the Face Inset to cover the middle of the daisy.
• Ok, in the Objects panel we’re going to hit the checkbox and deactivate the Face Inset we’ve just made and we’re going to go up to the + button and add another Face Inset Component.
• Let’s right click on that and rename it to Mouth.
• Right click on this again and hit Duplicate.
• Let’s rename this one again to Left Eye
• Let’s go over to the Inspector panel and change Mouth to Left Eye.
• We’ll right click again on Left Eye, Duplicate and Rename it to ‘Right Eye’. Then in the Inspector tab, we’ll select Right Eye from the Drop Down.
• Next we’ll go to the scene tab and drag the Mouth down on the daisy to where we want it.
• Then we’ll do the Right and Left Eyes and drag them to where we want them.
• Next, let’s head over to the Inspector panel and increase the Scale of the eyes to 2.00
• We’ll change the value of the Inner Border Radius to 0, this should make the edges of the cutout a bit sharper.
• Once we’ve done that, let’s change the Scale of the Mouth to 2.00
• And that’s about it for the Face Cut Out tutorial, why not play around with the scale and position of the cutouts yourself and see what feels fun for you?


